This tutorial series will teach you how to create a stationery for your home improvement business on Google Docs.
Stationeries are basically personalized paper templates so you can write letters, proposals, updates, or business inquiries to customers and other companies — whatever the case, the paper carries your brand. Good presentation goes a long way, and a good stationery is the perfect place to start.
We’ll start on how to create one using Google Docs. All you need is a Google account and it’s completely free!
Step 1 - Creating a blank document
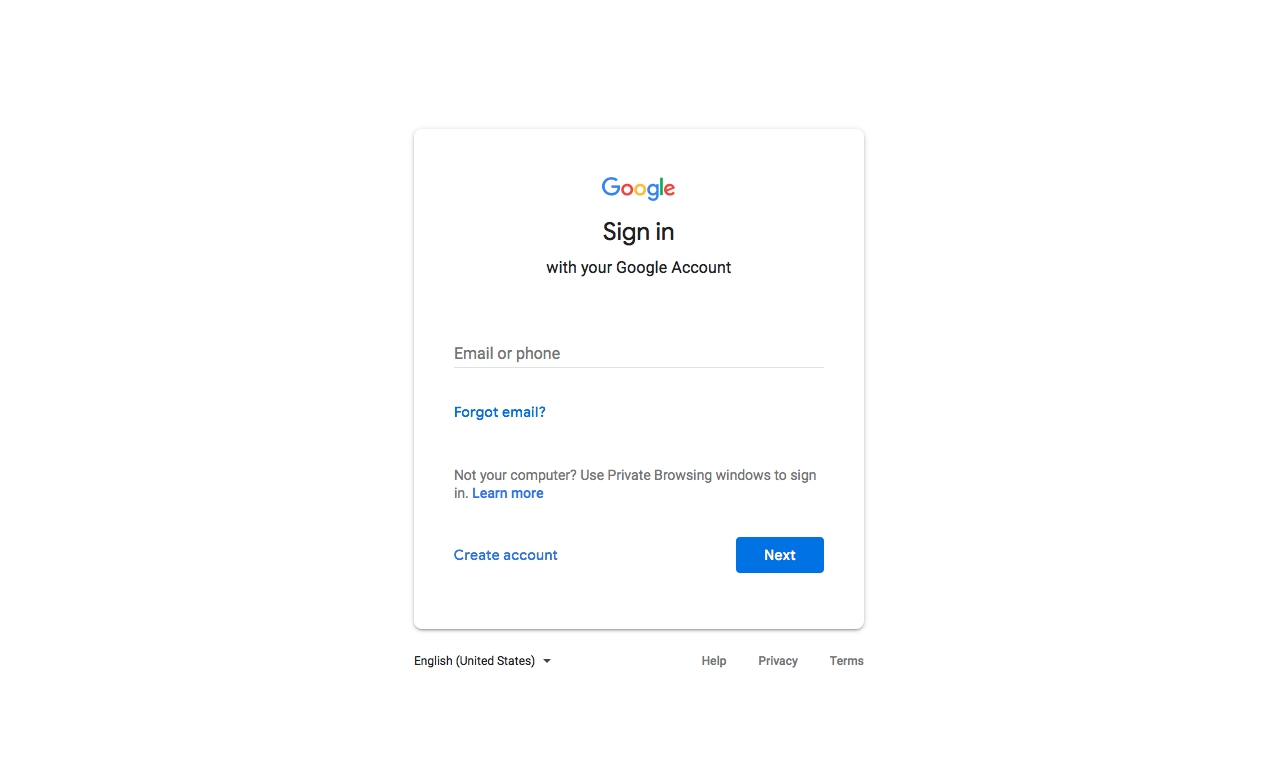
Go to https://docs.google.com on your browser.
If you’re not logged in to your Google account, you’ll see the window above. Log in to your Google account or create one if you haven’t already (doesn’t take more than a couple of minutes).
After logging in, this is your welcome page to Docs:

The top part shows a few template documents you can use for free, and the bottom part shows all your previously created documents.
To create a new document, simply click on the Blank page (1).
This is the your new blank document:

Step 2 - Setting up the paper size
Before anything else, let’s set up our paper size.
The paper size will depend on what paper you want to print this document in. Docs usually defaults new documents to A4 or US Letter.
We’ll be creating a stationery for a Letter size, so let’s check if the page size is correct — and make a tiny change on the bottom margin:

Go to File > Page setup.
On this new window, you can change and customize the page size and margins. On the Paper size menu, select the page size you want. In this case, we’ve changed the page size from A4 to Letter.
On the Bottom margin, type “1.5”.
Then click on OK.
TIP: Google Docs saves every change you make automatically.
Step 3 - Adding the Header
Now that the paper size is set up, let’s start creating.
First, let’s add our header.

On the upper toolbar, click on Insert > Header & page number > Header.
Now you’ll notice an empty header has appeared on the page.
The line you see crossing the screen is just a visual cue for you to know where the header ends — it will not appear on the document when printing.
TIP: If you accidentally click away from the header, simply click back on it to activate editing inside it.
If you don’t have a logo yet, here’s how to design one.
To finish this step, let’s add your logo to the header.
Make sure the text input is inside the header by clicking on it. Then, click on Insert > Image > Upload from computer.
Select the image from your computer and click Choose.
TIP: It’s important the image you choose is wide (bigger on width than height) for a nicer visual balance.
Step 4 - Formatting the body text
To make this step easier, let’s add some dummy text. We’re using example text to visualize our font choices and give the paper a more finished look.
First, copy the text in between the two lines below (it contains some useful tips you can check later!). To do this, simply select it by clicking and dragging, then Right-click and choose “Copy.”
You can also copy by pressing Ctrl+C (if you’re using a Windows PC) or Cmd+C (if you’re using a Mac) on your keyboard.
————————
August 2, 2018
Hello! This is our dummy text for the evening. It’s important to have real text on the page so you can change font styles, font size, and line spacing and already see how that affects your text. Once you’re happy with your choices, you can simply select this paragraph and type over it — your new text will have the same look from now on.
Furthermore, you can use this document we’re creating as a template for all your new documents. It’s very simple: first, name it something like “Your Company - Template Document”, so you can easily find it.
Now, whenever you need to create a new document, go to the Google Docs welcome page and search for “Your Company - Template Document” (if it already doesn’t show up as one of the most recent documents).
Open it, and go to File > Make a copy. Done! Now you can name this copy anything you want and make any changes you want. The original file will remain unchanged. Enjoy!
Sincerely,
the good people at homeyou
————————
Now, go to your document. Click outside of the header to make sure you’re not pasting inside it.
To paste, press Ctrl+V(if you’re using a Windows PC) or Cmd+V(if you’re using a Mac) on your keyboard.
Done. Now let’s make some changes to the body text.
Step 5 - Formatting the body text
The series of changes we’ll perform are mostly so you can learn where these tools are — then you can change your text anyway you want it. Feel free to experiment once you get the hang of it!
Choosing a font
First we’re changing the font of the body text to something that reflects more your company’s style.
You can choose whatever font you like here, as long as it’s easy to read — so nothing too crazy.
Select the text by clicking and dragging the cursor.
Then click on the font menu and choose the font you want. For this example, I chose the Roboto Condensed font. Different computers can have more options or less, so try different ones to find the one you like best.
Line spacing
We’re increasing the line spacing to make our text flow more over the extension of the page.
Select the text by clicking and dragging the cursor. Click on the Line Spacing button on the toolbar, and select 1.5.
Text color
Generally you don’t want to be messing too much with the color of your text. For this example, the body text will remain the default black.
But we want to add a little fluff on the date on the first line and make it red and bold, to reflect our logo.
Select the text and click on the Text Color option on the toolbar. Here you can select any color you want. We went for a darker shade of red.
To finish the job, click on the Bold button.
Signature
We want to change the formatting on the last two lines (“Sincerely…”) for some visual variety. So let’s change two things:

Select the text and head for the Align menu.
Click and select Right align. Then click on the Italic button.
Voilá!
Setting up a style
To make sure you never have to change fonts again, let’s set up the “Normal text” style to match the changes we’ve made.
This way, even if you delete everything on the page, the font choices you’ve made for the body text will remain the same (only on this document).
Select one paragraph of the body text. Click on the Styles menu (where it says “Normal text”.) Then click on the arrow beside Normal text, and click on “Update Normal text to match.” It’s that simple.
Final step - The footer
The only thing missing is the footer of our document. On the footer, we’re adding your address and contact information.
Let’s add the footer to the document.

Go to Insert > Header & page number > Footer.
Then, immediately go to Insert > Horizontal line. This line gives our footer a nicer visual separation from the rest of the page.
Formatting the footer
Now, let’s add our info in there and format it.

First, copy the example below (our info), paste it on the document and change the text to your own info:
400 TradeCenter, Suite 3900, Woburn, MA 01801 | 1-844-HOMEYOU | [email protected] | www.homeyou.com
TIP: You don’t have to add the address or website if you don’t have one, but make sure to add an email and a phone number so people can contact you.
On the document, select the text and change the font size to 10.
Click on the Align menu and choose Align to center.
Finally, go to Text Color and choose the third shade of grey, from left to right.
Done!
Your stationery is ready!
The last thing you need to do is name the document.
Click on the “Untitled Document” prompt and enter the name of your document. We recommend something like “Your Company - Stationery Template.”
Now you can use this document as a template for any new ones!
To do that, simply open it — via the Google Docs welcome page (you can search for it by name if it doesn’t show up on the recent documents list), then go to File > Make a copy.
Rename this copy immediately so you don’t lose track of it, and edit away! The original document is safe for whenever you need it again.
Enjoy your new stationery!
Any doubts? Let us know in the comments below!
Do you want to grow your business and start receiving leads for jobs that will make you money today? Sign up with homeyou.


Comments