String art is something that amazes all of us, but very few actually try it. Even though the art looks complex and intricate, it’s actually super easy to do it! If you’re wondering how to make string art, then check out this simple step-by-step string art tutorial below!
Supplies
Here’s a list of supplies that you can gather from your local crafts shop to start your own string art piece:
- Plaque: plywood or precut wooden plaque
- Small nails
- Hammer
- Heavy thread or string
- Template (printed or drawn)
- Masking tape
Get The Plaque Ready

After getting the plaque in the right size, you’ll only need to sand the rough edges and stain it.
If you want to go deeper into it, you can paint it with a colorful tone and add a couple thin coats of poly to make it weatherproof.
Make a Template

Use kraft paper to draw your string art design or print an outline on your home printer. Here are some ideas if you haven’t decided yet:
- Outline of your state
- Inspiring words like “dream or “smile
- Your initials
- Other shapes, such as: heart, star, a fruit, etc.
- Skylines
- Quotes and phrases
Insert the Nails

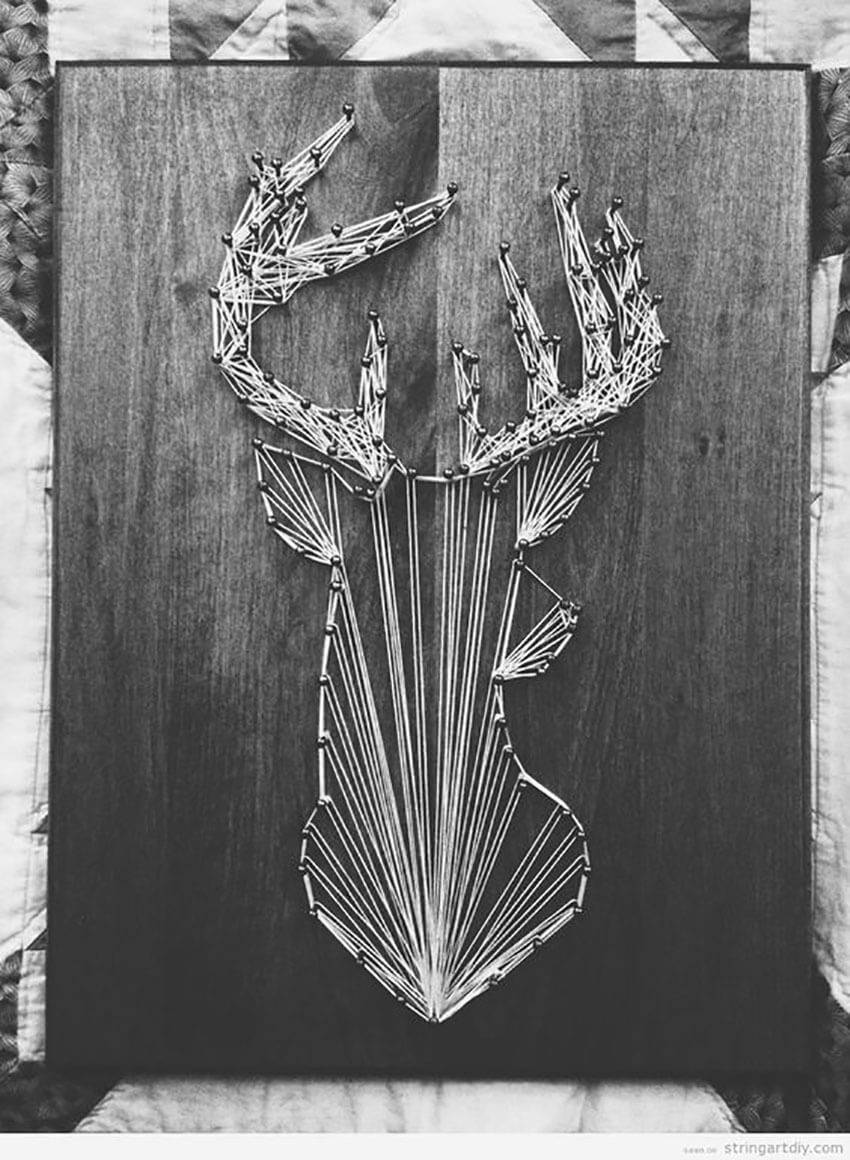
After getting your template ready, center it on your plaque and secure it in place with tape. Start hammering your nails along the outline of the design, leaving a small gap between them, just like in the picture above.
Remove the Template

When you’ve finished tracing the entire template, remove the paper carefully. Go slowly so the nails stay in place. Check to see if everything looks level and even.
Apply String

To start applying the string, tie a knot around the first nail and then work back and forth between the nails. Keep moving forward when you think it’s right. Depending on the design, it may look better with more or less thread.
Here’s a video by Crafts With Ellen detailing the process:
Tip:
You can wrap the string around each nail a couple of extra times to make the color pop more.
Finishing

After making your way through the entire string art design (or through each letter of a word), pick an end point, preferably on the outside of the project, and tie a knot around the nail.
Pay attention:
Make sure the start and finish knots are tied nice and tight, so the project doesn’t unravel. You can use a glue gun for extra safety.
Display

Your string art design is ready to be displayed! You can use a strong adhesive to hang the piece in place or simply display it on top of the mantel for an easy solution.
- Related:
- The Beginner’s Guide on How to Paint Furniture
- 10 Creative Wood Burning Ideas To DIY Right Now
- Refresh Your Home in One Afternoon with Your First Gallery Wall
What will be your first string art design? Let us know at our Facebook page or in the comments below!
